Hello Cloud 9 Crafters!
Today, I have a special project to share with you. Cloud9 Crafts is celebrating its 5th anniversary! Of course, I had to make something special for Yuki (the owner of Cloud9). In this post, I will share the creative process. Of course, you can find all the supplies in the Cloud9 Crafts webshop.

FYI: For the 5th anniversary of Cloud9 Crafts, we are hosting a giveaway on Instagram! Make sure to go to my instagram account to check out all the details on how to enter!
I started with an embroidery hoop (diameter 20cm). I traced the circle of the hoop on the back of the older Dandy Day paper. I cut this circle out with my scissors. I did the exact same thing with the Cilantro cardstock. Then, I cut a grassy border out of that Cilantro circle. I chose to do a bit of ink blending on the edges of that grassy border with Lawn Fawn Rainforest ink. I adhered the border on the yellow paper first (using dry adhesive). Then I adhered the whole background to the back of the embroidery hoop with liquid glue.
I debated quite a lot about what patterned paper to use and eventually went with an older paper collection. An other option was the lovely Watercolor Wishes collection.
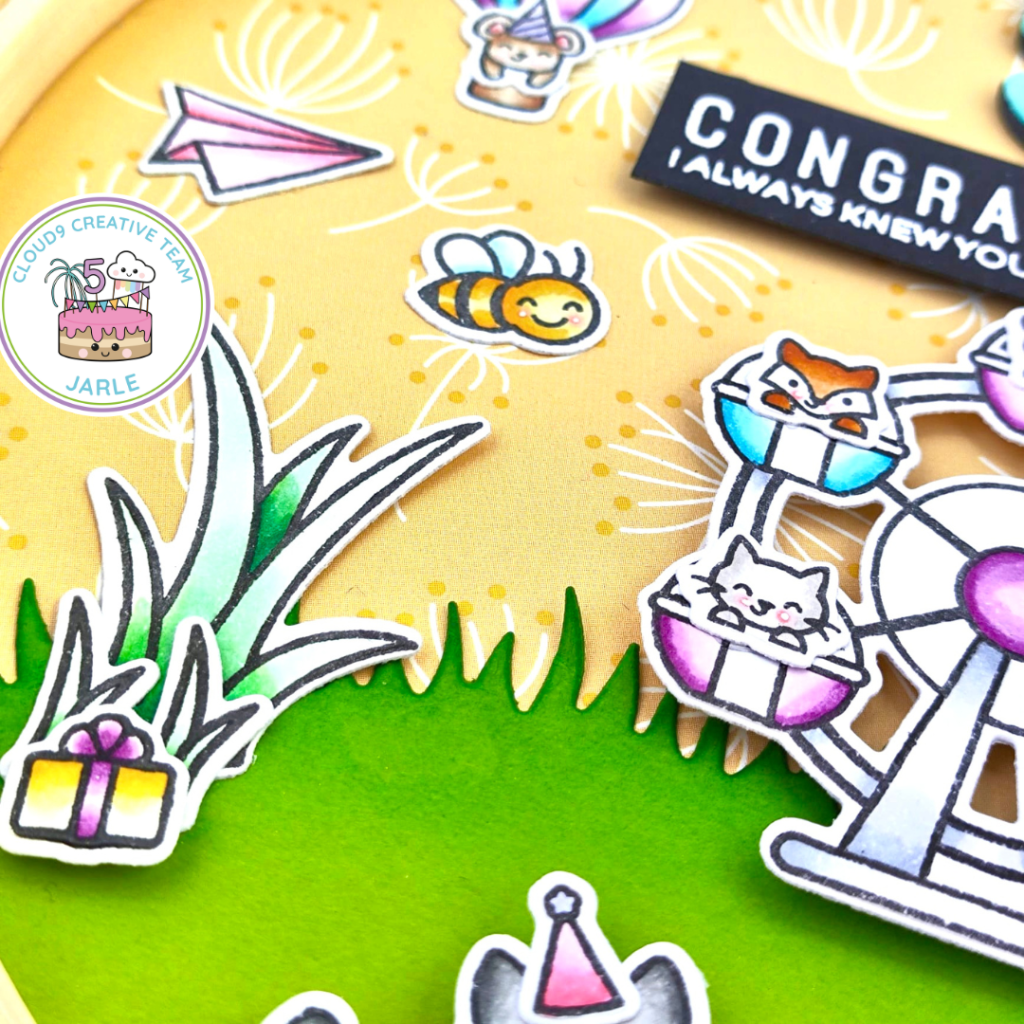
After that, I stamped A LOT of images out of A LOT of different stamp sets. I love mixing and matching different stamp sets to create a cute scene. I stamped my images with Lawn Fawn Jet Black ink on Transotype Perfect Coloring paper. I will give you an overview of the stamp sets I used. They are all Lawn Fawn.
- Wheely Great Day
- Purrfectly Wicked
- Fly High
- Hive Five
- Just Plane Awesome
- Gleeful Gardens (grass)
- Really High Five (present)
- All The Party Hats (party hats for the cats)
- Scent With Love (envelope)
I colored all the images with my Copic markers and die cut them using the coordinating dies. I always use the dies. I really like the look it gives and it’s super fast. It would have taken me ages to fussy cut all these out!

Here are the colors I used:
- Cats:
- T5 – T3 – T1
- E42 – E41 – E40
- Balloons:
- BG05 – BG01 – BG000 – BG0000
- BV01 – BV00 – BV000
- RV66 – RV63 – V000
- E33 – E31 – E30
- Bees: Y35 – Y15 – Y13
- Grass: G17 – G02 – G00
I used the same combinations for all the little accessories. Using the same colors, really makes the project seem more ‘cohesive’.
To be honest, I chose a few stamp sets, colored everything and put them on my scene, but there weren’t enough images to really get a ‘full’ and colorful scene. So I just went through my stash again and searched for images that would help set the scene.
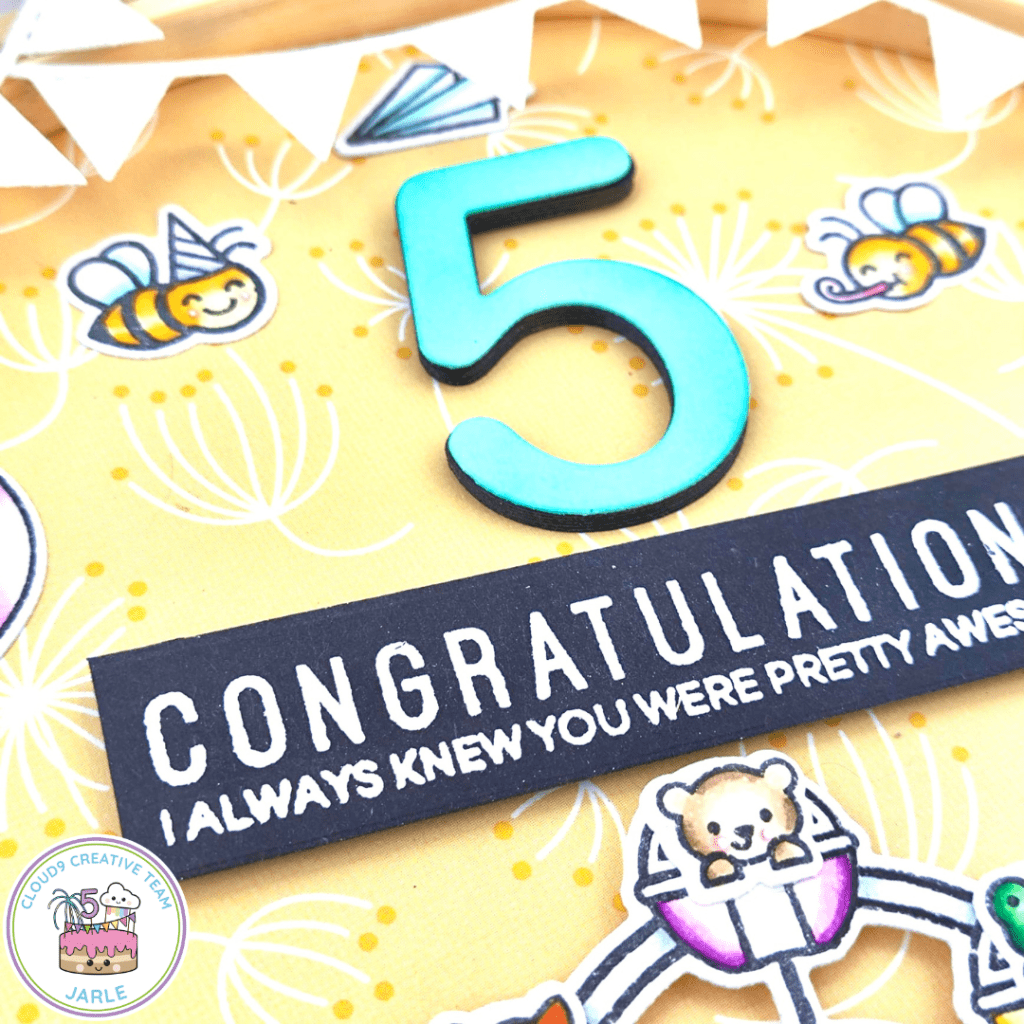
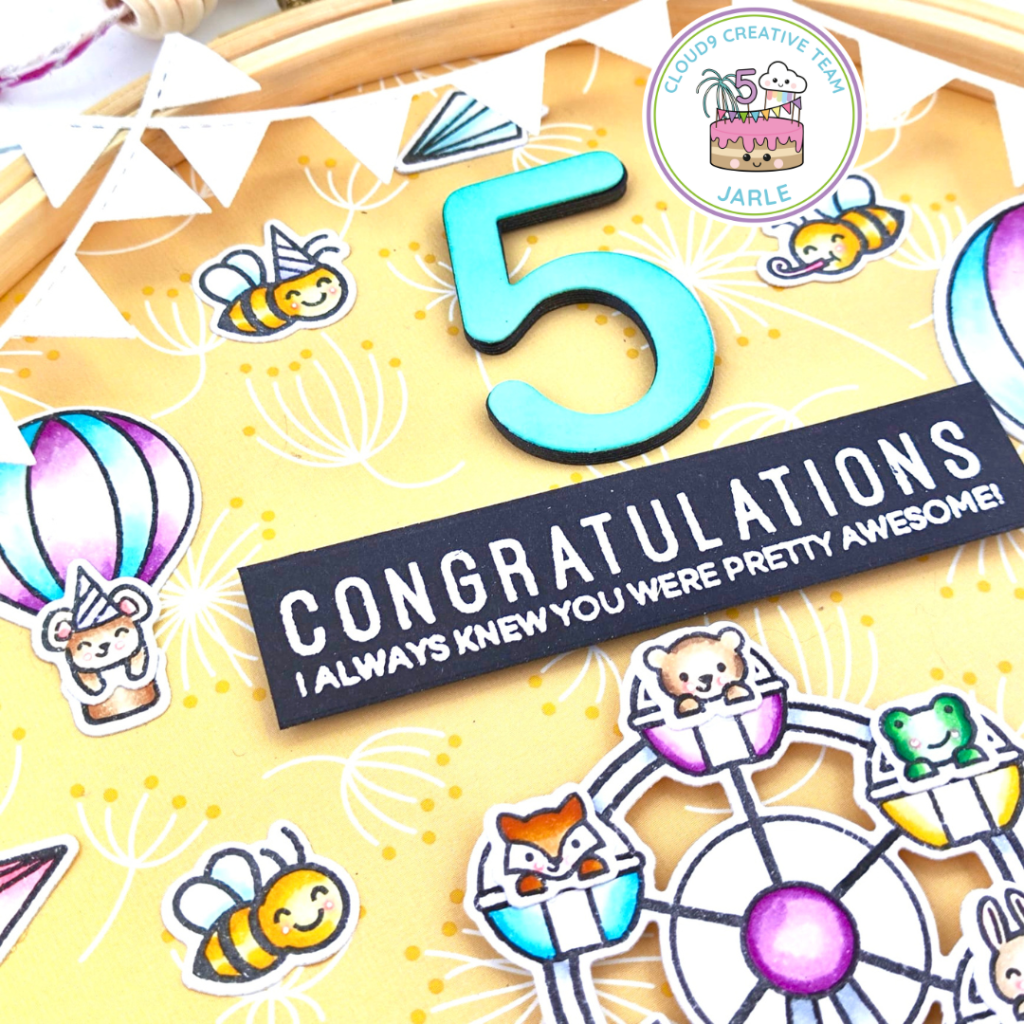
For the sentiment, I stacked up different die cuts of the number 5 out of the Heffy Doodle Birthday Numbers. The top one is die cut out of Lawn Fawn Mermaid cardstock. I used some Peacock Feathers distress ink as well to give it some more interest.
The stamped sentiment comes from the Everyday Sentiment Duos from Heffy Doodle. I stamped it with Versamark ink on Black Licorice cardstock, sprinkled on some white embossing powder and heat set it with my heat tool. I trimmed the sentiment with my mini paper trimmer to get that nice rectangle.
I arranged both sentiments and all my images on the background. I really played around with my placement. I adhered some images flat, with liquid glue. A few images were popped up with foam squares. And a few others were popped up with double foam squares. This really creates a lot of dimension and I love that!

To make it extra festive, I die cut 3 Bunting Borders out of Pixie Dust cardstock. I arranged the 3 borders around the hoop and adhered them with liquid glue. I trimmed off the excess with my scissors.
To finish it off, I used some Pretty In Pink Sparkle Cord on the top of my hoop. This way, Yuki can easily hang it on her wall (if she wants).
I have to admit: this was a time consuming project and I didn’t really have a plan when I started. This made the process more difficult as I’m used of having sketched out my card beforehand. I really hope this post can help you in creating your own decorative embroidery hoop!

Thank you SO much for stopping by! I really hope you will join us in our celebration of 5 years Cloud9 Crafts!
Love, Jarle x
