Hi friends! Thank you for visiting my blog! I’m happy that you’re here!
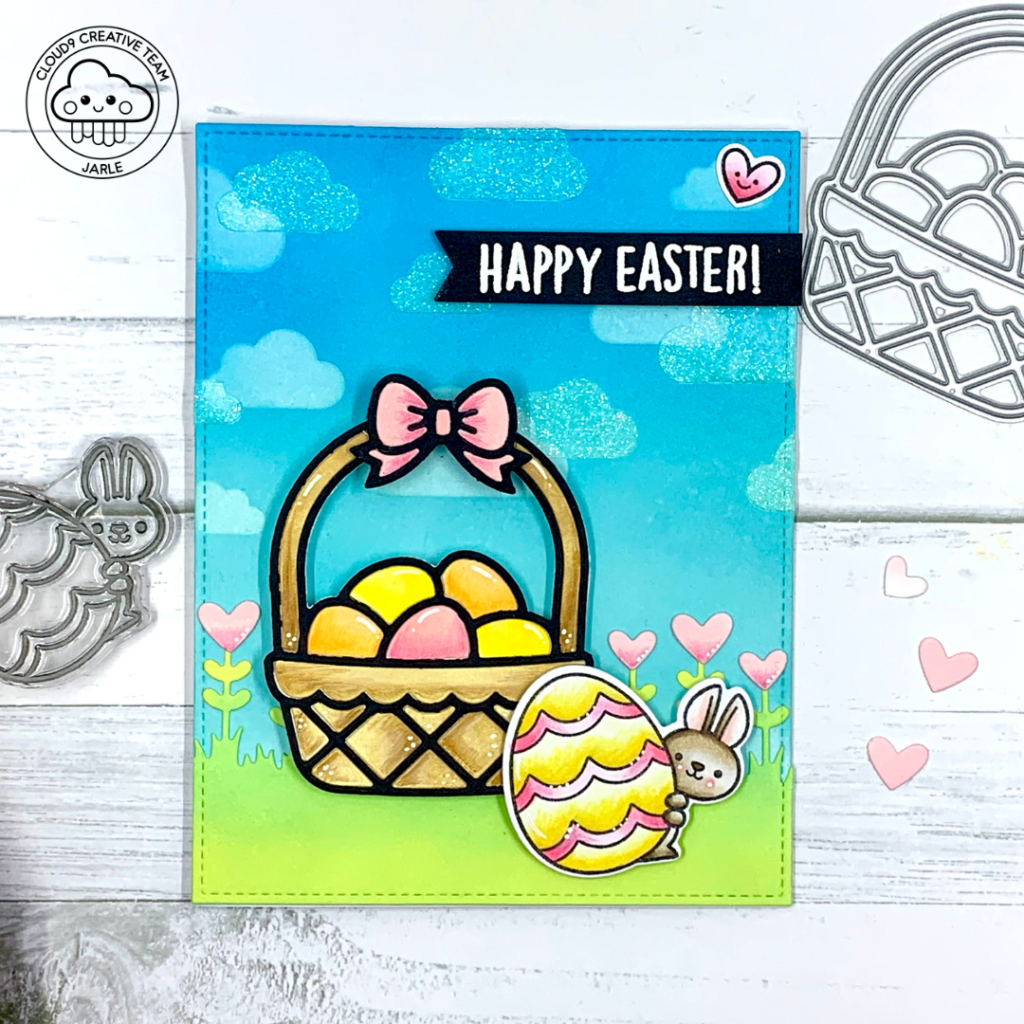
I have this adorable Easter card to share with you today. I normally don’t really make Easter cards, but this stamp set and that basket were just too cute so I couldn’t resist!
You can find a full supply list here.
I started by die cutting a stitched rectangle out of Bristol Smooth cardstock. This is my go to paper for ink blending. I used Distress Oxides in the colors Salvaged Patina and Mermaid Lagoon for my background.
Then I laid one of the Cloud Background stencils onto the panel and with white pigment ink, I blended in the clouds. For the second stencil, I used Fairy Dust stencil paste. This gives it a translucent but shimmery look. I think the Pearl paste would work great as well!
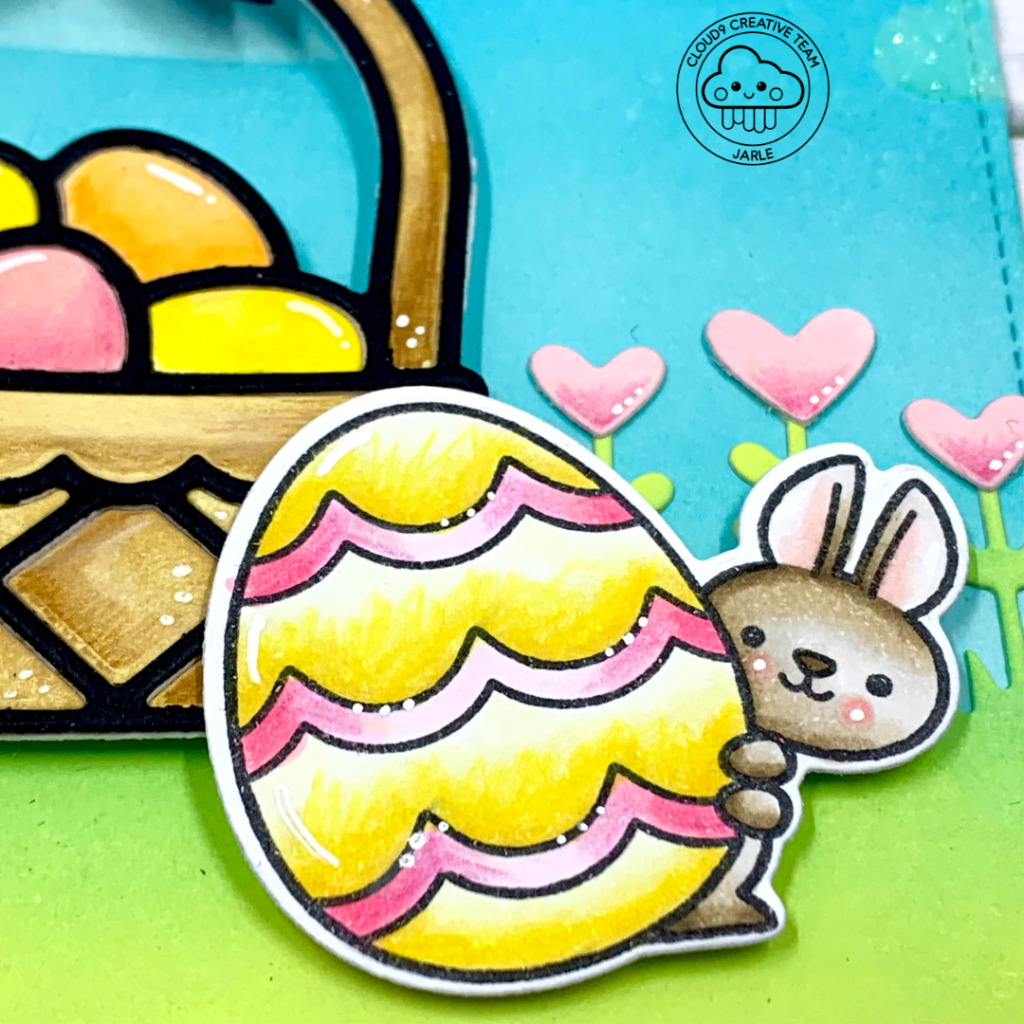
For my grass, I die cut one stitched rectangle again out of Bristol Smooth cardstock and blended some Twisted Citron on it for my base color. After that I die cut the Heart Garden Border and for that little extra detail, I blended on some Cracked Pistachio on top. I die cut all the hearts out of cardstock and I put on a little Oxide ink in Saltwater Taffy . The hearts were adhered on the grass border with liquid glue.
When the paste on background panel was dry, I adhered the grass onto the panel.
For my Easter basket, I decided to ink blend the whole thing. The base and the frame was cut out of black cardstock. The inside pieces were cut out of the same Bristol Smooth cardstock.
For the basket I used the color Brushed Corduroy and for all the Easter eggs, I used Squeezed Lemonade, Saltwater Taffy and Dried Marigold. Of course I used Distress Oxides for this. When I put color on every little piece, I adhered the pieces into the die cut frames. This is so fun to do!
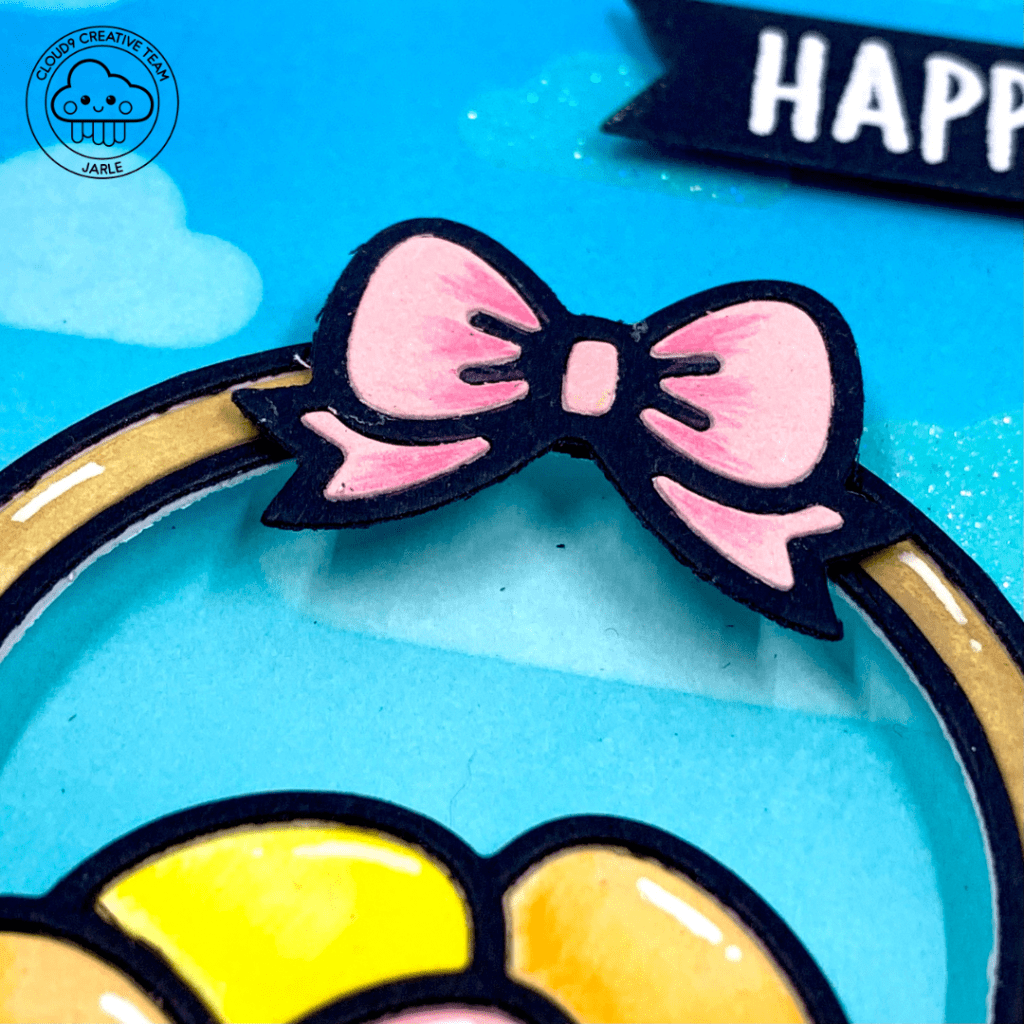
To add just a little extra something, I did go in with some Polychromos in yellow, pink, orange and brown.
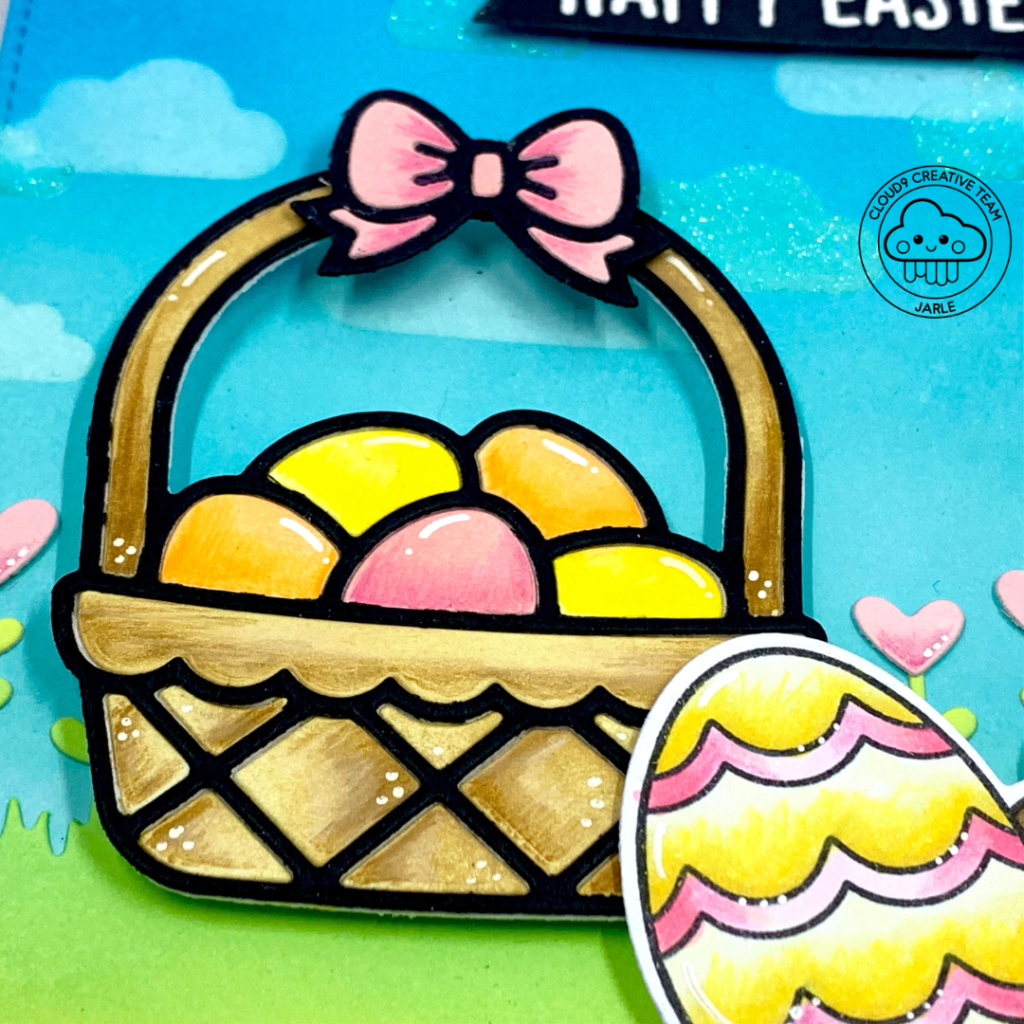
I do want to mention that I first die cut the basket with white cardstock. I will insert a photo of that below. I didn’t really like it. It was just too plain and it didn’t match with the bold sentiment later on. But I could really easy fix that by just die cutting the frame again in black and putting that over the white frame.
This is how it looked first:
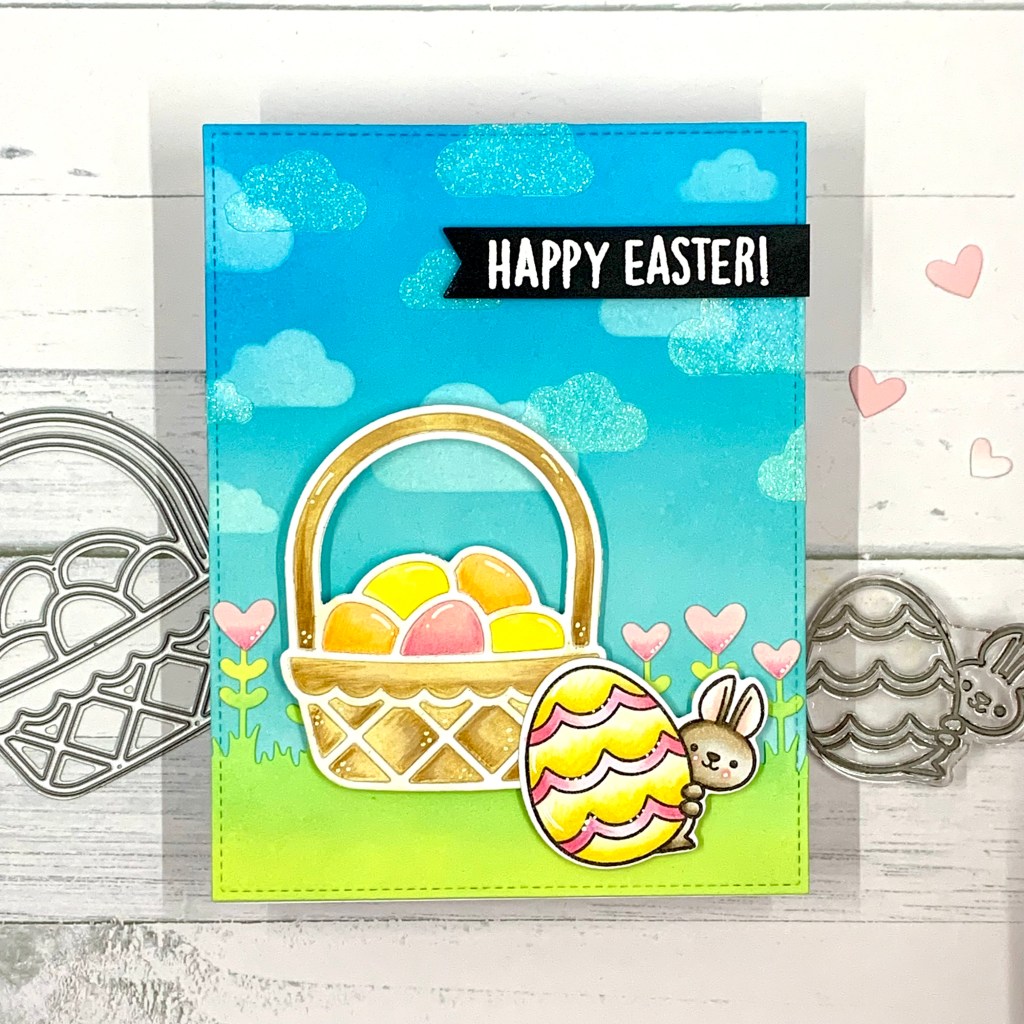
The cute bunny from the Eggstraordinary Easter set was stamped in Lawn Fawn Jet Black ink on Transotype paper. I colored the little cutie with Copics and die cut him with the coordinating dies.
Used Copic combinations:
- Y15 – Y13 – Y11
- RV23 – RV10 – RV00
- E44 – E42 – E40
After prepping my cardstock with a powder tool, I stamped my ‘Happy Easter’ sentiment with Versamark ink. I sprinkled on some white embossing powder and heat set it with my heat tool. It was die cut with a simple sentiment banner from Lawn Fawn.

I popped up everything with a few foam squares. You all know I love dimension on cards! I find it much nicer when images are popped up, instead of being adhered straight on the panel.
Collection Link: https://www.cloud9crafts.nl/collections/cloud9-crafts-dt-inspiration-eggcellent-easter-card-feat-lawn-fawn-easter-basket
Thank you so much again for reading! I hope it give you a little bit of inspiration.
Love, Jarle x
