Hi sweet crafty friends!
Thank you so much for being here. I have a ‘thank you’ card for you today, with a very summery feel to it (or at least, that’s what I think, maybe I just need vacation…) My bonus son gave this card to his teacher and he said she was very happy with it.
Let me tell you how I made this. You can find a full supply list here.

I started by die cutting the Simple Stripes. I did this once out of Sunflower cardstock and once out of Fog cardstock, both from Lawn Fawn. This actually gave me a nice background for 2 cards. But for now, I just made this one card. I layered all the stripes directly on my white cardbase. I love these Simple Stripes. They add so much to a simple background.

After that I die cut the Cheery Cherries out of the pink cardstock in the Textured Dot Pastels pack, also from Lawn Fawn. The stems were die cut out of Cilantro. I did add a bit of ink to the die cuts. I used Festive Berries for the cherries and Lucky Clover for the stems.
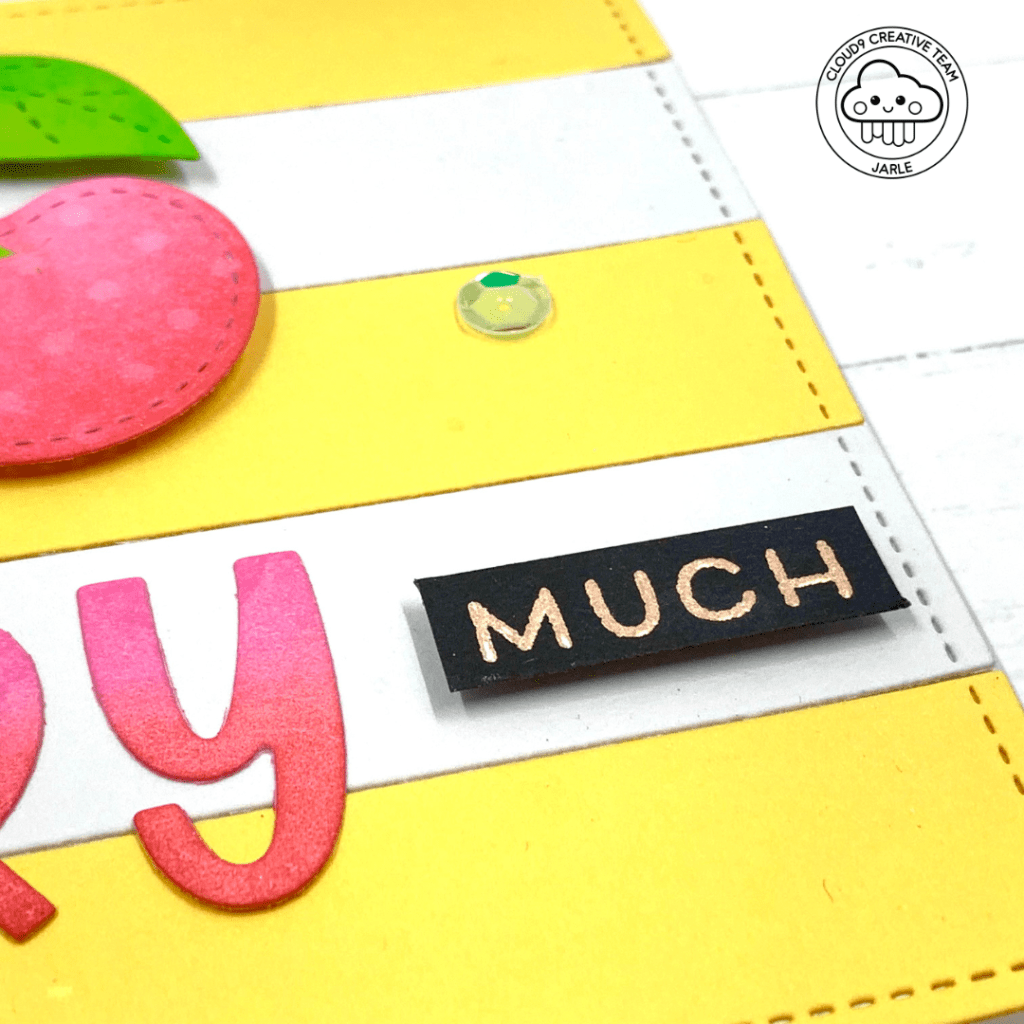
I wanted a little punny sentiment on my card, so I went for a combination of heat embossing and die cutting.
I stamped my whole sentiment (Thank you so much) with Versamark ink on black cardstock. I sprinkled on my embossing powder and heat set it with my heat tool. I did not use my white embossing powder as I normally do. I decided I wanted a more golden feel to it, so I took the Lawn Fawn Rose Gold embossing powder and I really like the result!
The ‘cherry’ letters were cut with Henry’s ABC’s out of Spun Sugar cardstock. I went over it with Distress inks in Picked Raspberry and Festive Berries. This matched my cherries more than the plain cardstock. In the end, you don’t notice the Spun Sugar color at all. So you could just use regular white cardstock for the letters as well.
PS: Henry’s ABC’s is my absolute favorite alphabet set from Lawn Fawn. I LOVE the font!
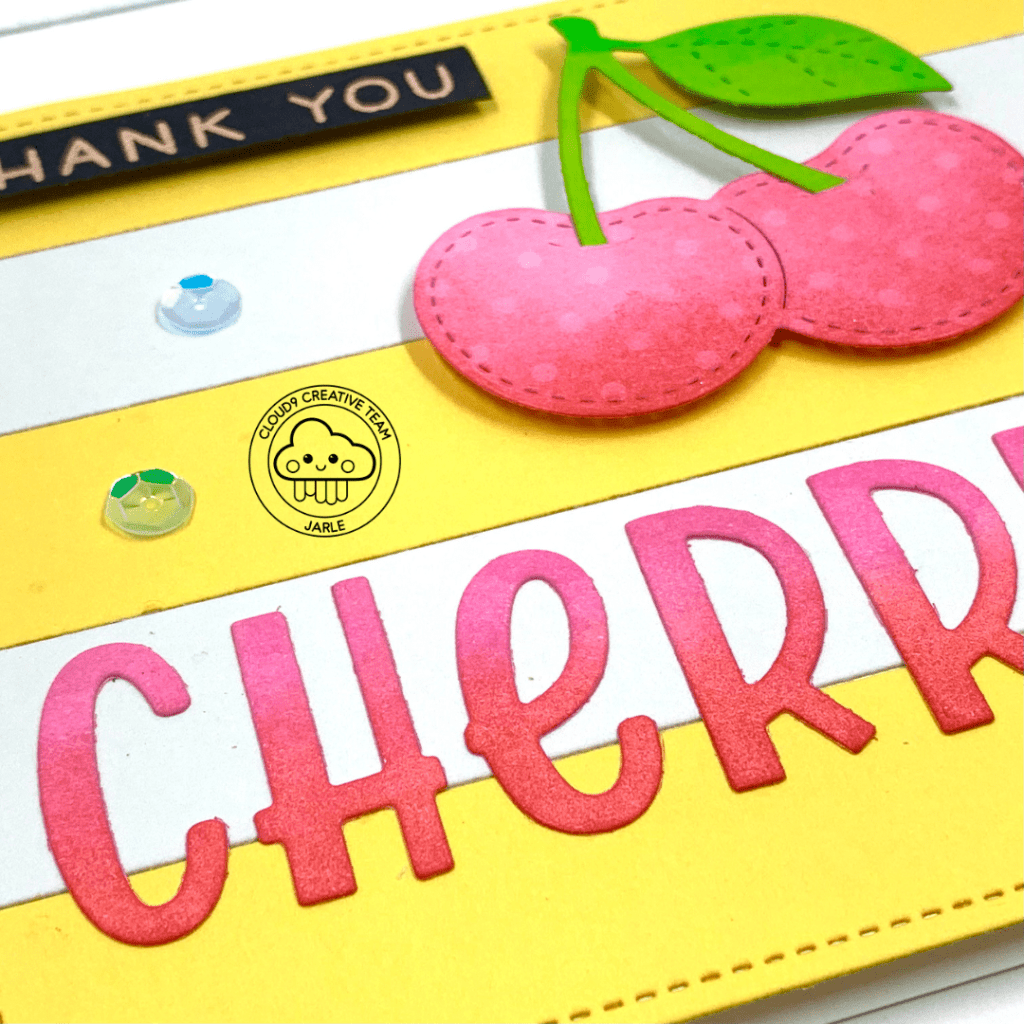
Then I assembled my sentiment. I cut the heat embossed sentiment in 2 pieces, leaving out the word ‘so’. I could ‘insert’ my cherry die cut letters in between the 2 pieces. So my sentiment eventually says: Thank you CHERRY much. Fun, right?
I placed everything on my background. I popped up the 2 sentiment strips and the cherries with Foam Squares. The die cut letters were adhered with liquid glue. To finish it off, I placed 3 sequins of the Iridescent Moonshine Sequin Mix.
You can also add Glossy Accents over the die cut letters, but I just kept it simple for now.

I hope this gave you a little bit of inspiration to get crafty. Thank you CHERRY much for spending some time on my blog. Have a very nice day!
Love, Jarle x
