
Hi Heffy Doodle friends!
I’m so happy to be back on the Heffy Doodle blog today. Thanks for being here with me! Last weekend, I realised I really need more birthday cards in my stash so I decided to make one, using the new Wrapped With Love set.
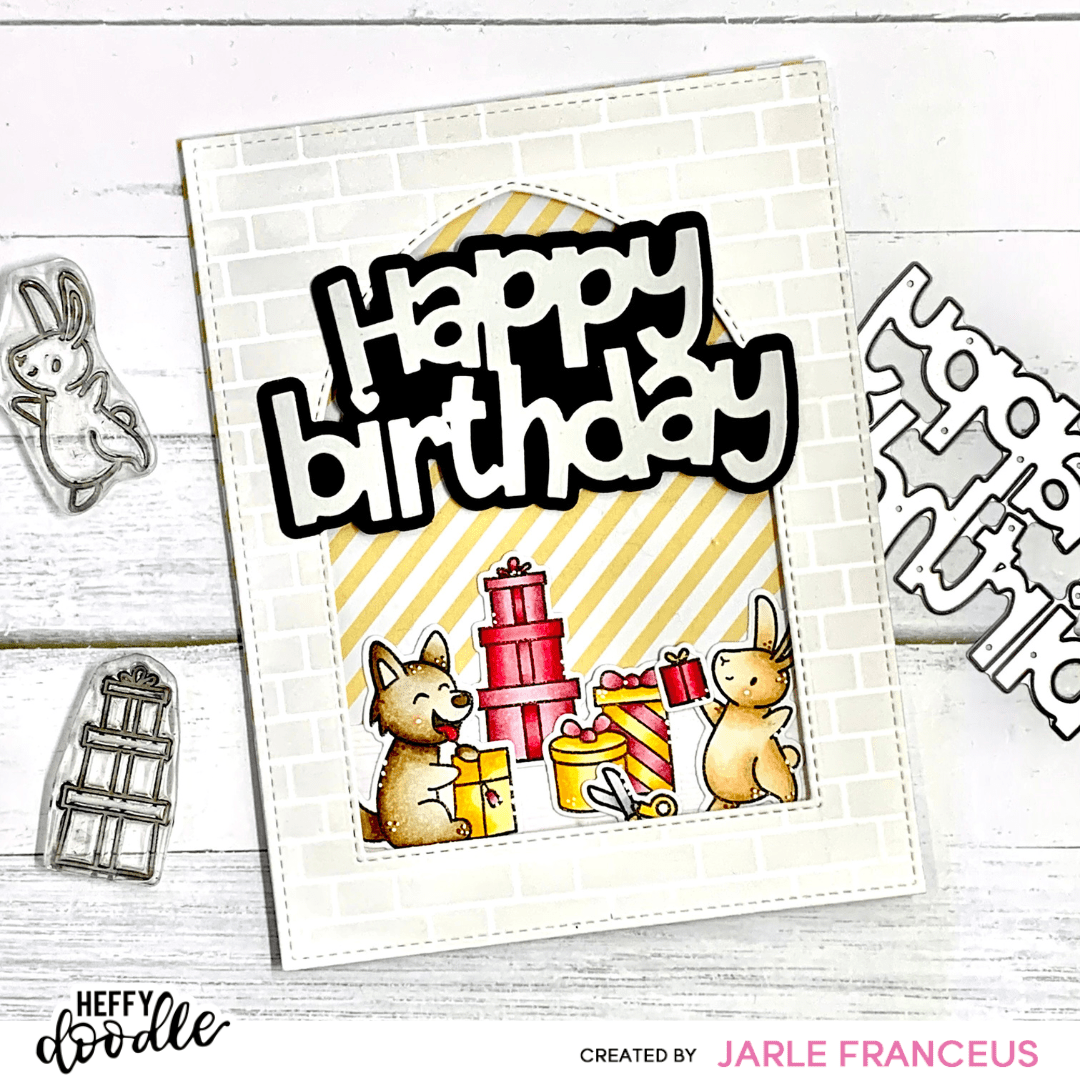
I started by die cutting a stitched rectangle out of Bristol Smooth cardstock. I took a Brick stencil and blended on Distress Oxide in Lost Shadow. It’s the first time using this ink and I think it’s perfect for this ‘wall’ look.
After that, I took one of the Cathedral Window dies and die cut my blended panel so it had a ‘window opening’. On the back of that panel, I adhered a piece of acetate. Then I put it aside for a bit and worked on my images.
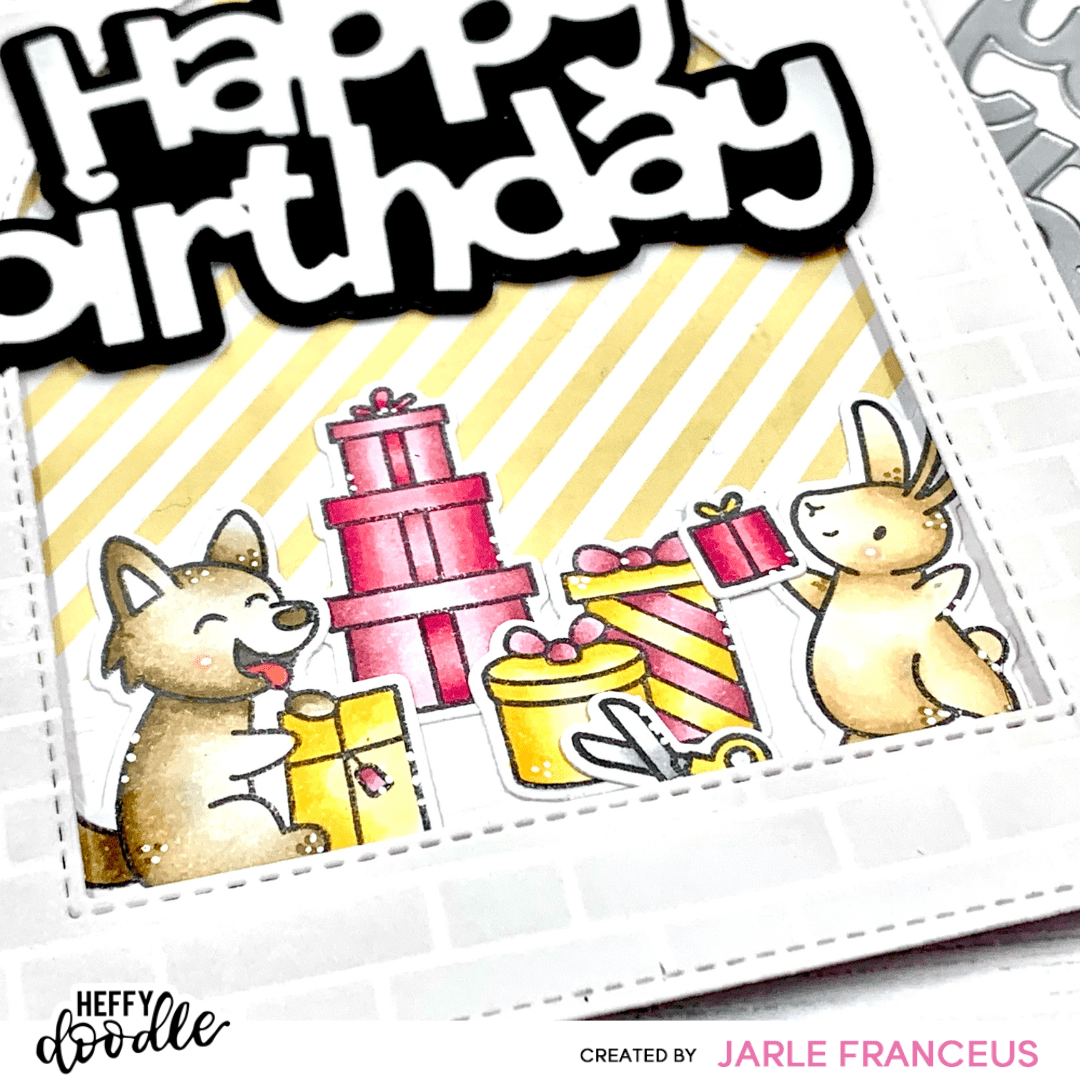
I took the images from the Wrapped With Love stamp set and stamped a few with MFT Extreme black ink on alcohol marker friendly cardstock, using my Misti.
You can find the colors I used below:
- Bunny: E55 – E53 – E51 – E50
- Dog: E44 – E43 – E42 – E40
- Presents:
- R85 – R83 – R81
- RV09 – RV14 – RV13
- Y17 – Y15 – Y13
When the coloring was done, I die cut the images with the coordinating dies and the lovely mini die cutting machine.
For my background, I trimmed a piece of the yellow Spring Breeze patterned paper to 4,25 by 5,5 inches. Then I used a little scrap piece of woodgrain cardstock for my ground and I adhered it to the patterned paper. Now it’s time to create the scene!
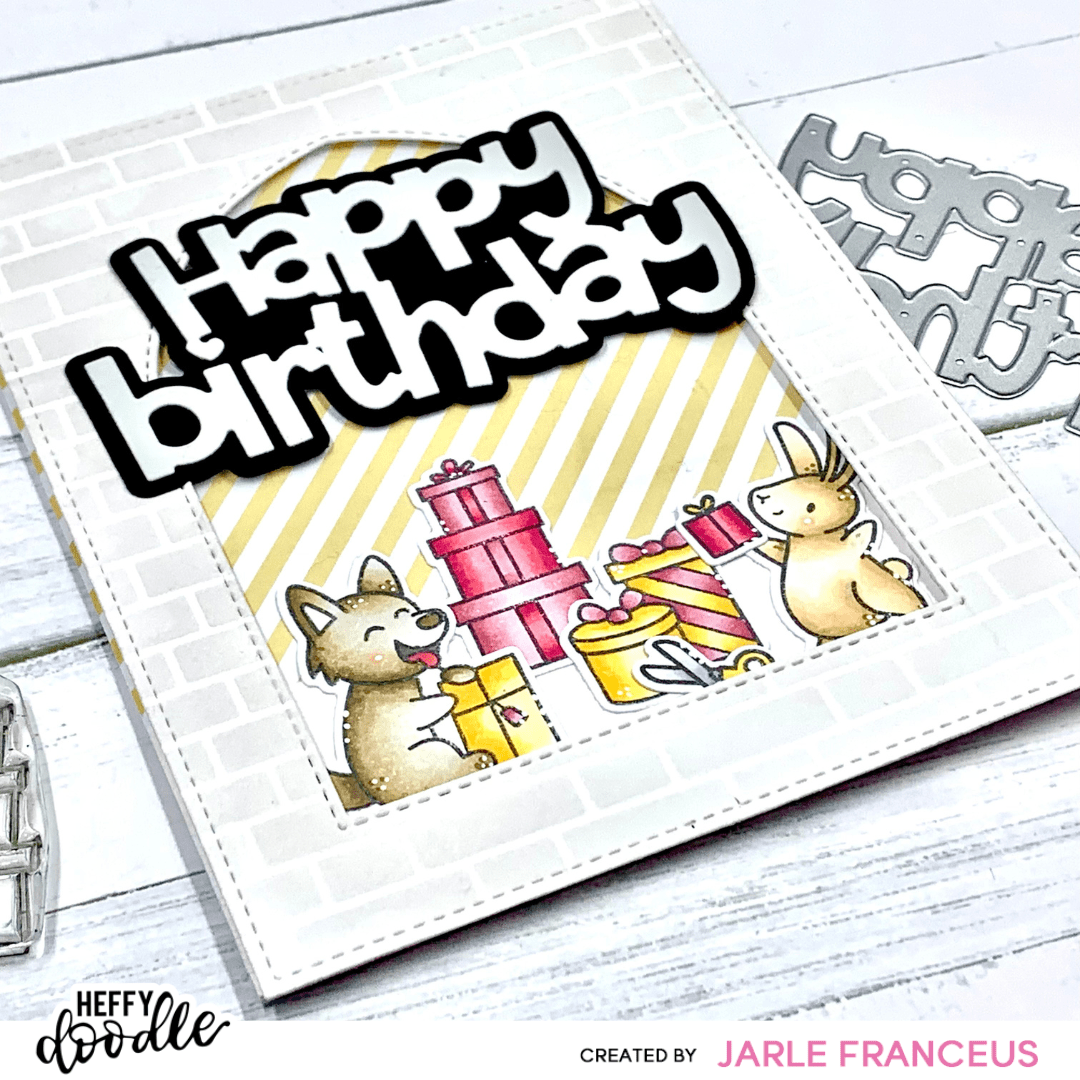
I played around with the different images just to get the perfect placement. I did use the brick blended panel, just to see where my images would have to go, so that they weren’t hidden behind the paper (if you know what I mean). I didn’t use foam tape, I adhered them directly to the patterned paper.
I did use Heffy Doodle foam tape all around the back of the ink blended window panel so I could get some nice dimension.
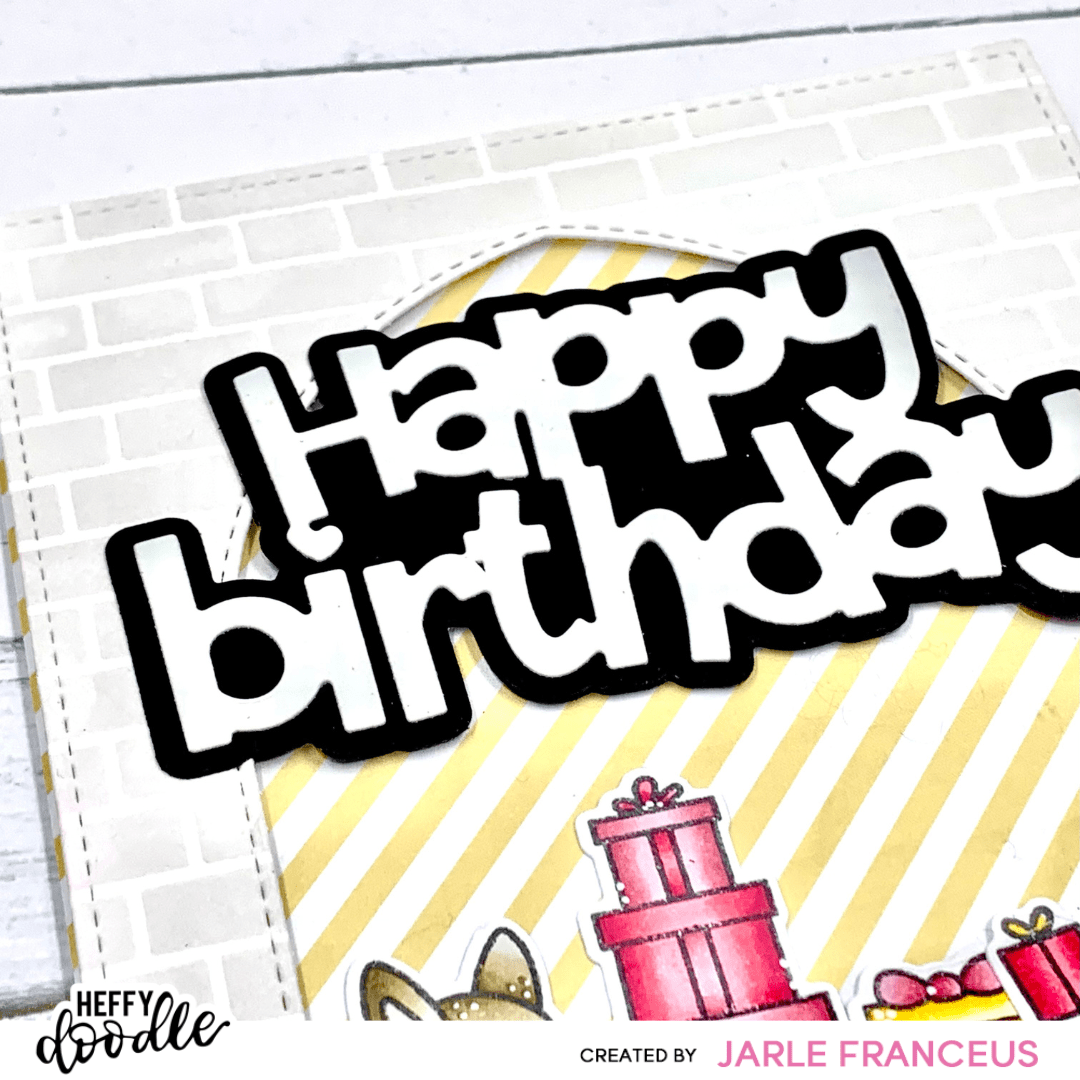
The sentiment I used is called Happy Birthday Jumbo Sentiment die. I really love the font and its size is just perfect. I die cut the ‘happy birthday’ out of Oyster Shell cardstock and the shadow out of Oreo Crush cardstock. I adhered this on top of the card with liquid glue.
I put the card panel onto a white card base and this card was all finished. I hope you like how it turned out! Thank you SO much for taking the time to read my blog post. I will be back soon with another card!
Love, Jarle x
